Monocular Depth with DepthNet
Depth sensing or perception is crucial with tasks that involves navigation, mapping, obstacle detection and so on. For computer vision, in most cases, the depth information is given via stereo camera or RGB-D camera.
With the availability of Deep Neural Networks, now even with single lense camera or with monocular image, we are able to approximate the depth of the objects within the said mediums (aka mono depth).
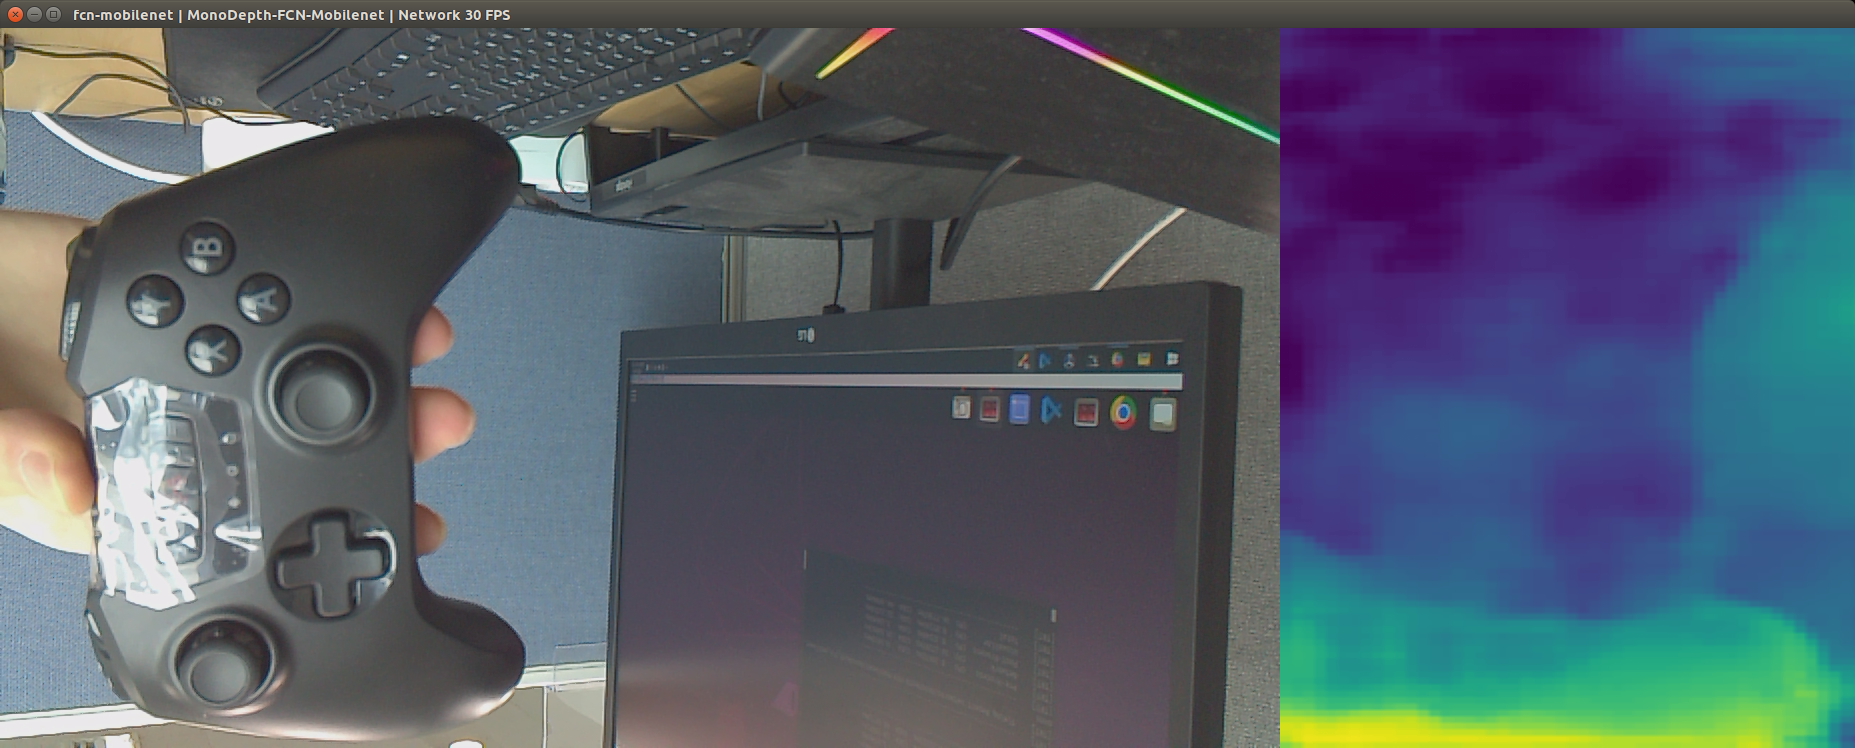
For Depth Estimation task, we use the pre-built depthNet program. The program takes an input (an image, a video or a live camera) and performs the inference using the pretrained networks, then outputs the depth map. The depth map can be colorized for visualization but also can be accessed raw.
For this exercise, we will use the default fcn-mobilenet network.
Launching the Program
The depthNet program is a python based program. The program may be ran directly on the Command Line Interface or through our pre-built script ran on the Jupyter Notebook environment.
These are the different parameters that can the adjusted to the users need. (Note) The network name, input and output information must be given.
The network name that will be used for the inference
The visualization method.
--visualize=input,depth: allows for the original image and the depth map displayed side by side. (default)--visualize=depth: allows for only the depth map to be viewed.
The depth size. This value scalse the size of the depth map relative to the input (default=1.0).
The filter mode. Sets the sampling method as either linear or point. Default value is linear.
The color map. This value sets which of the color mapping to use during the visualization (default= viridis_inverted).
The input source (file path if it is an image(s) or a video(s))
The output method (file path if it is an image(s) or a video(s))
The network, visualize, depth-size, filter-mode, and color-map parameters are optional.
./depthnet.py <input source> <output method>
Examples through Jupyter Notebook
The program launching process along with parameter settings are all simplified and set up on the Jupyter Notebook Environment.
(The Jetson Board used for these examples are => Jetson Nano)
Depth Estimation through a Camera
카메라로 깊이 추정.ipynb
- Running the cell codeCtrl + Enter

Import the subprocess module to run the example scripts (i.e. show.sh, kill.sh)
import subprocess
Using the below code, activate a camera window, depth mapping will be done automatically.
# Depth Estimation with Raspberry Pi Camera
detect_command_depth = 'bash ~/ai_example/detect.sh cam_depth'
subprocess.call((detect_command_depth.split('\n')), shell=True)
After testing the depth mapping program terminate the camera window
# terminating the process
kill_command_face = 'bash ~/ai_example/kill.sh camera'
subprocess.call((kill_command_dog.split('\n')), shell=True)